http://www.viralandroid.com/2015/11/building-first-android-application-with-android-studio-hello-world-example.html
Welcome to the tutorial to build first android application i.e. Hello World Example. In this tutorial, you will learn to create your first android application form basic level and run it.
In order to run your first application you have to install android development environment (Android Studio) and create a virtual device (emulator) or set up your real device. I think you have already done this, if have not created or setup virtual device or real device follow the instruction given in
Android Developer Site.
Related:
Android TextView Example
Android Tutorial
How to Share Android Studio Project on GitHub
Android Studio is Slow: How to Make Android Studio Fast
Getting Started with Android Studio
Click the android studio icon to run android development environment.
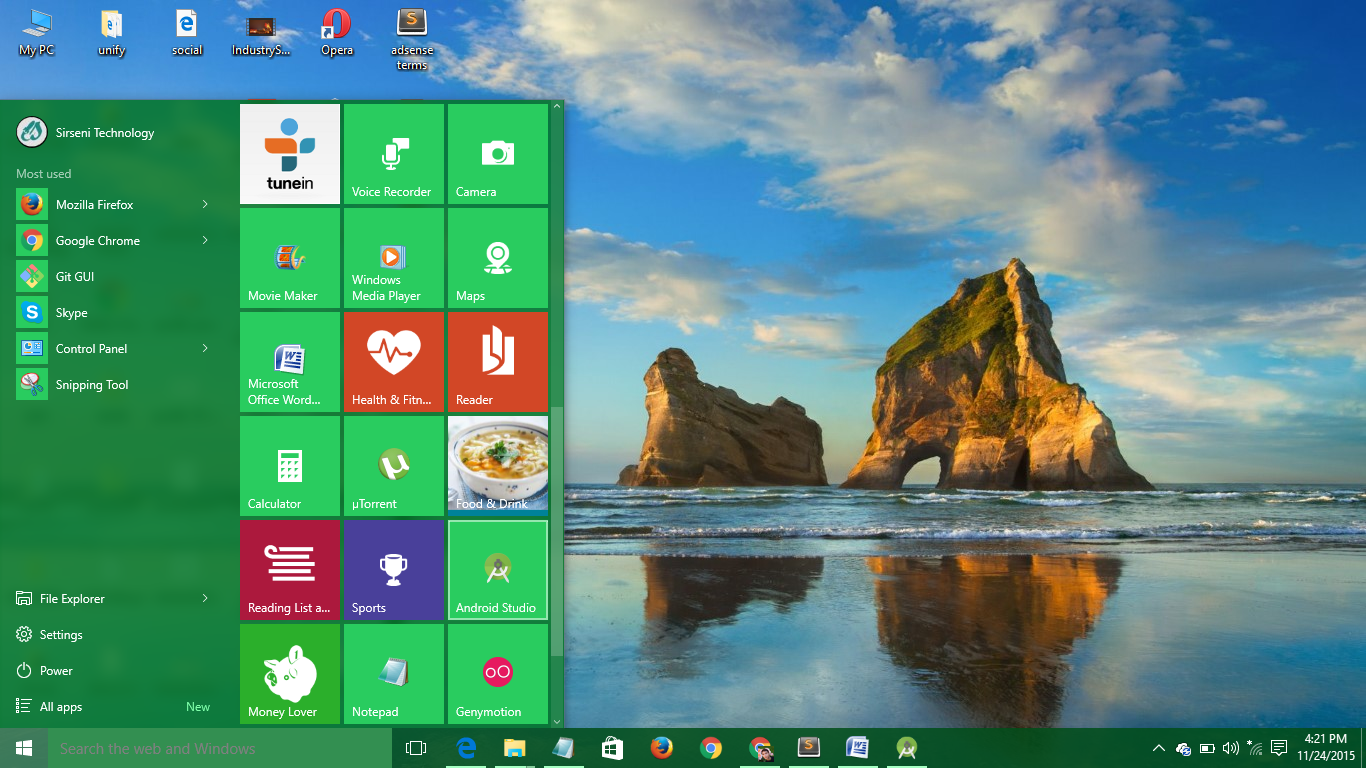 |
| Fig 1: Getting Started with Android Studio |
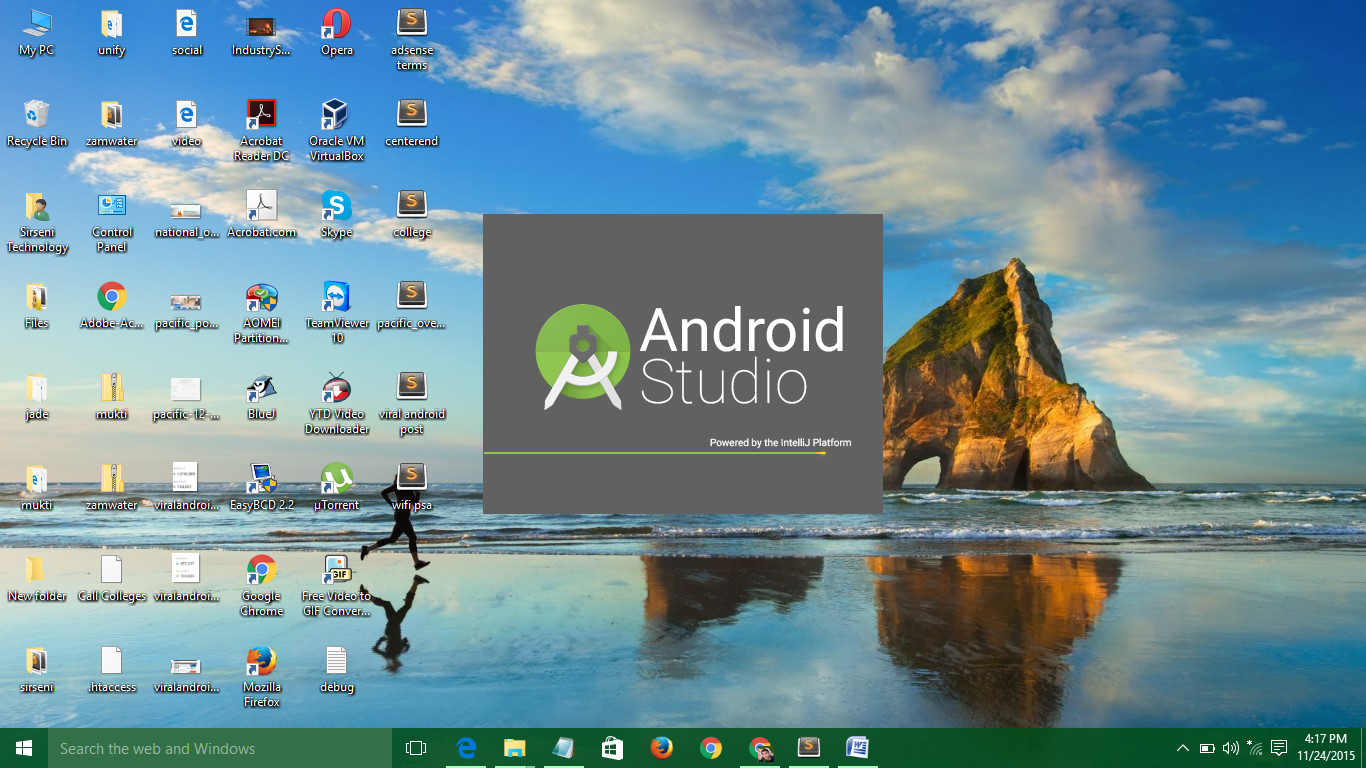 |
| Fig 2: Getting Started with Android Studio |
To create a new android project from android studio click
Start a new Android Studio Project from Quick Start which will looks like below screenshot.
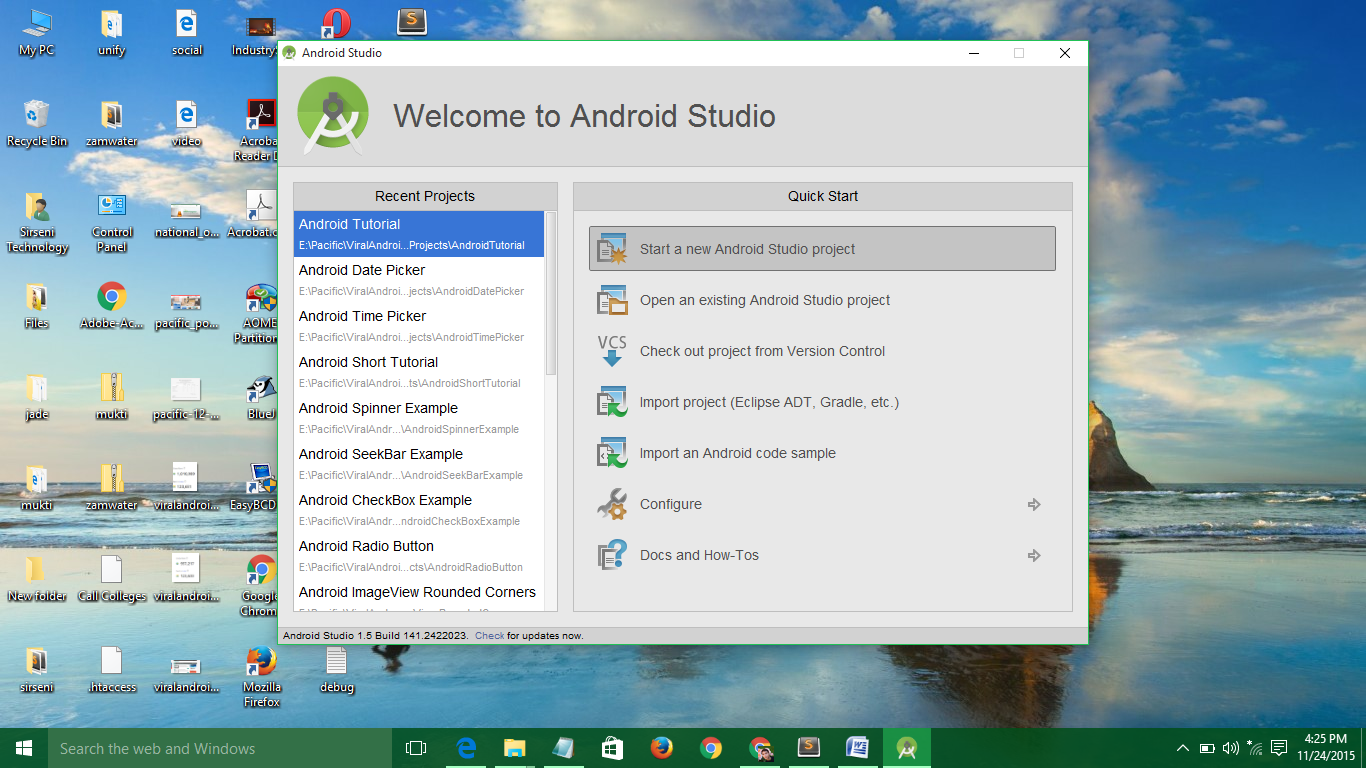 |
| Fig 3: Getting Started with Android Studio |
After clicking start a new android studio project, new widow will appear there which will look like below.
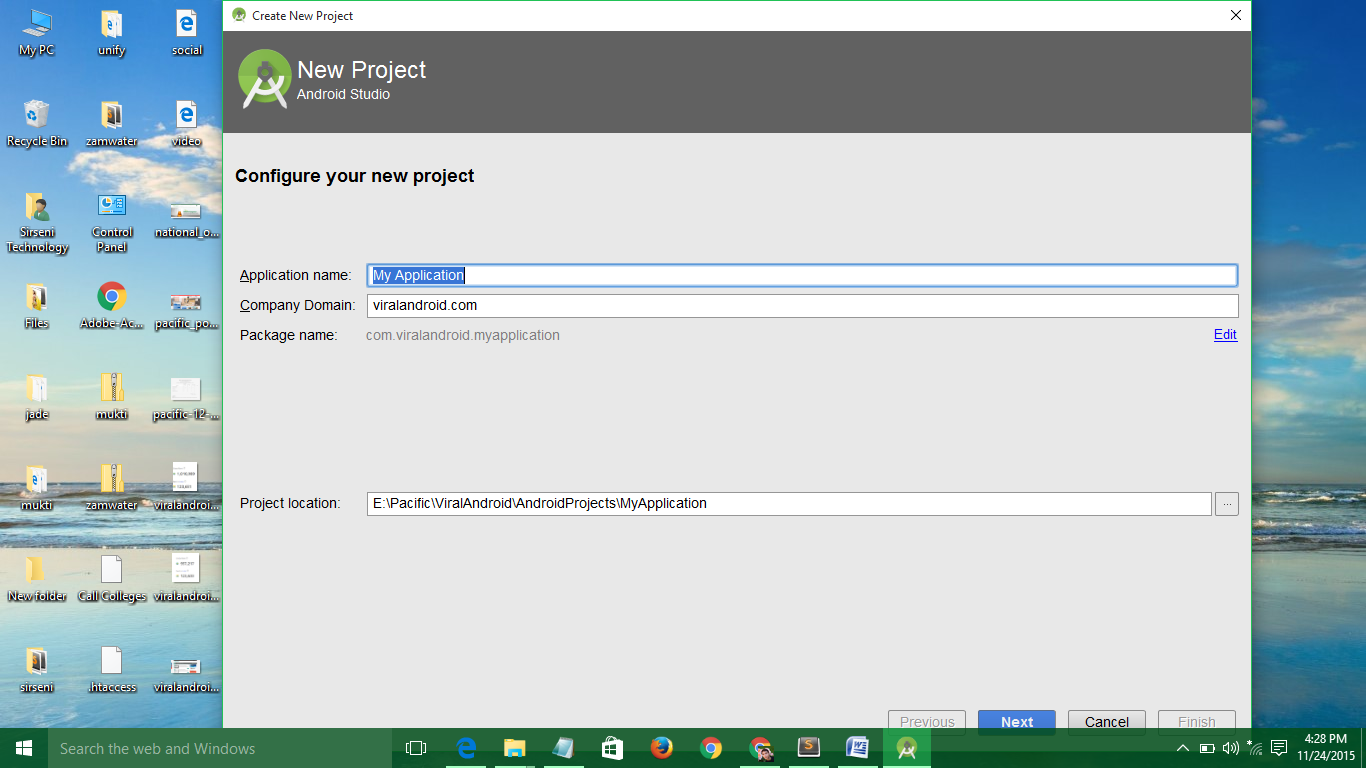 |
| Fig 4: Getting Started with Android Studio |
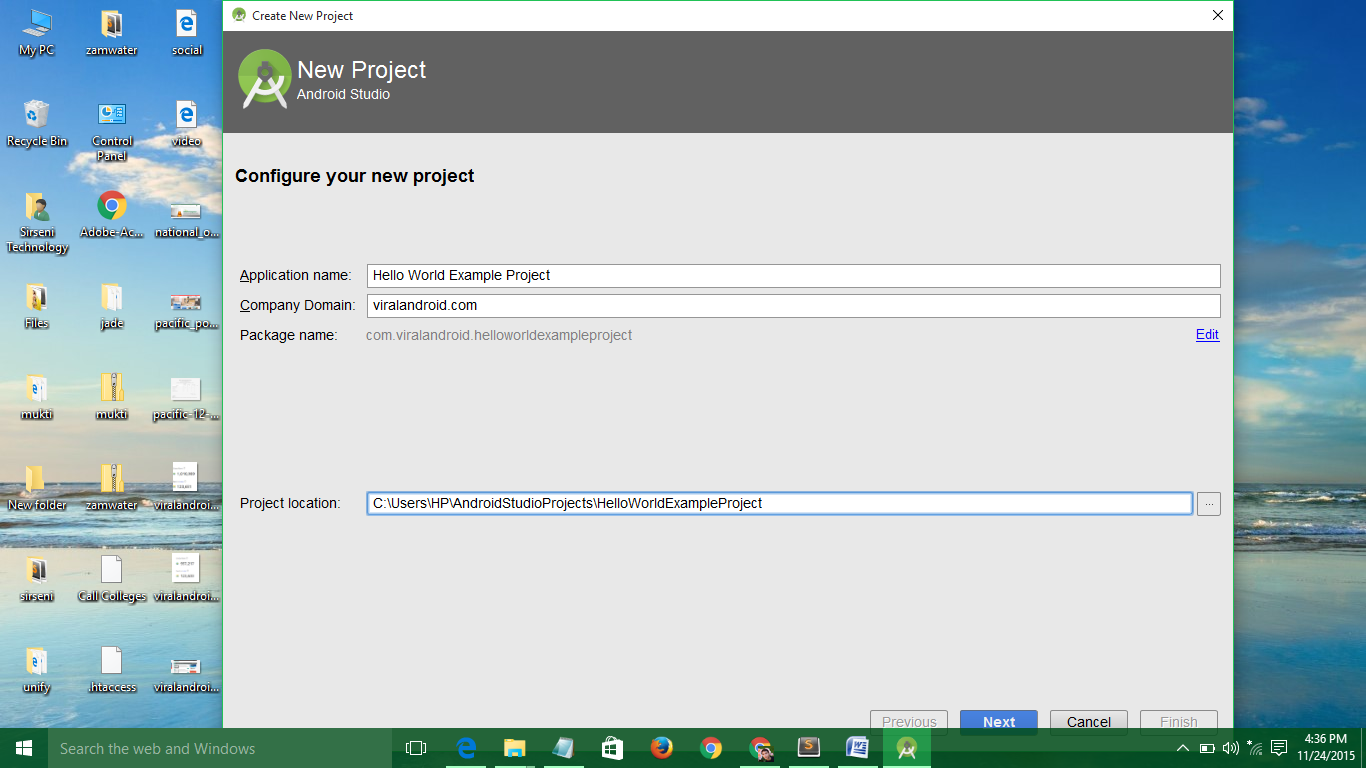
Here, you have to fill up application name, company domain, package name and choose project location. Just write Hello World Example Project in application name, viralandroid.com in company domain, com.viralandroid.helloworldexampleproject in package name and use default directory of project location and click
Next button.
 |
| Fig 5: Getting Started with Android Studio |
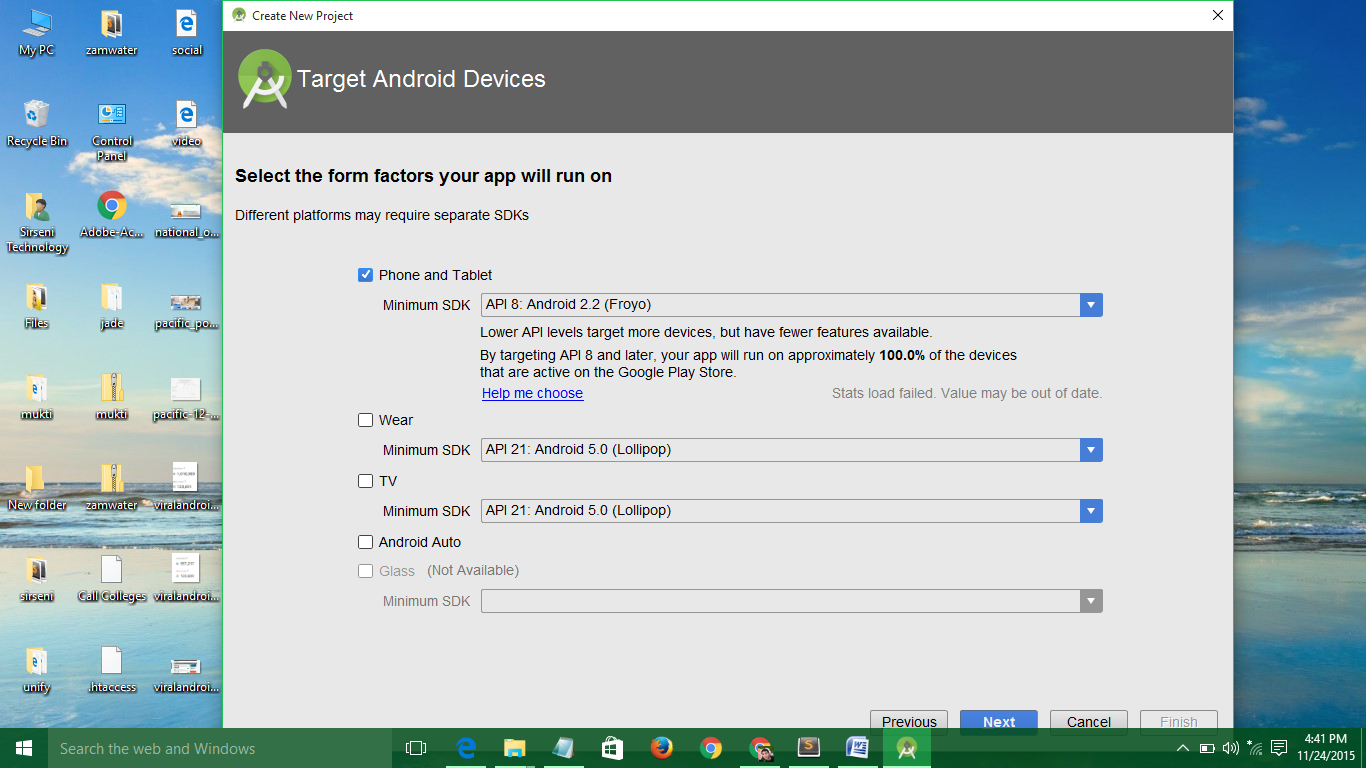
Now, you will see the place to choose different android platforms and minimum SDK (minimum API level). Just check on Phone & Tablet and choose API 8: Android 2.2 (Froyo) in minimum SDK and click
Next button.
 |
| Fig 6: Getting Started with Android Studio |
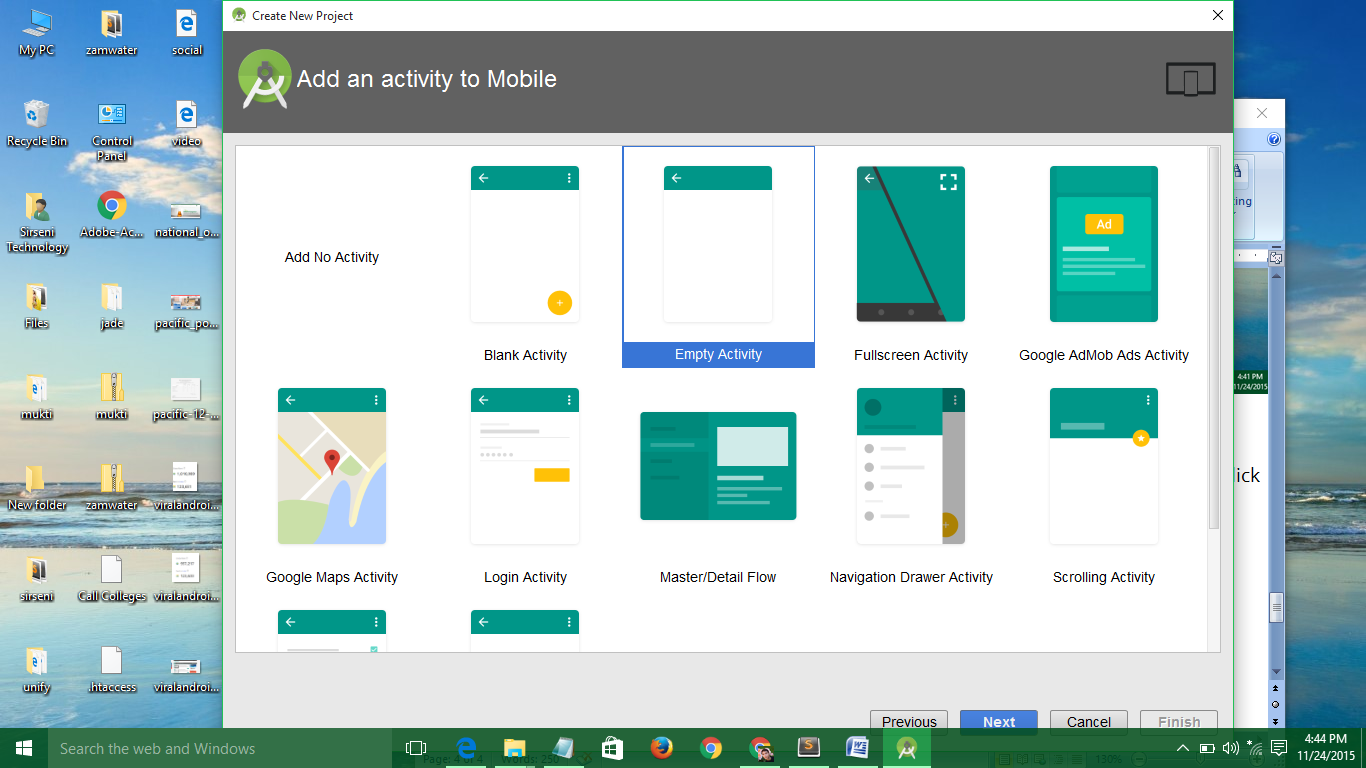
Then you will see add an activity to mobile window, just select Empty Activity and click Next button.
 |
| Fig 7: Getting Started with Android Studio |
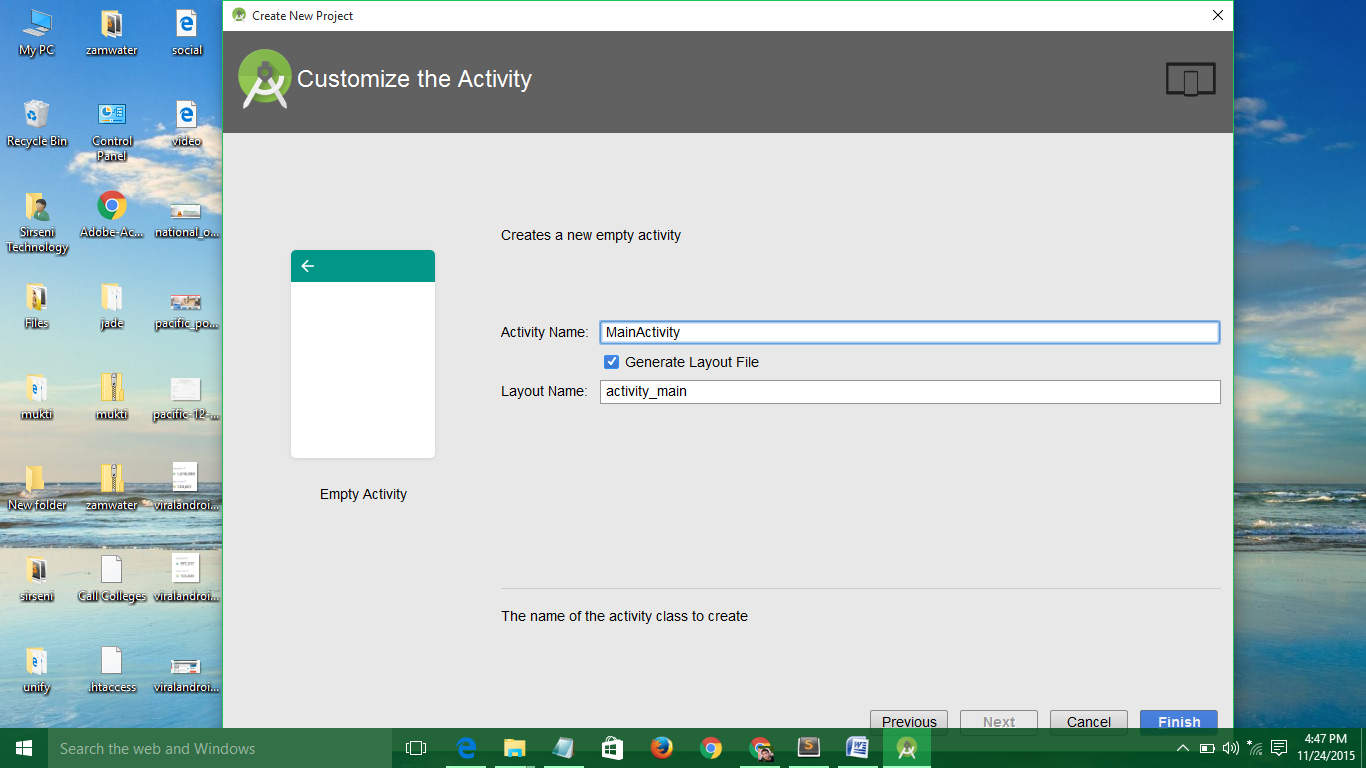
Then, you will see
customize the activity window just use default activity name & Layout name and click Finish button.
 |
| Fig 8: Getting Started with Android Studio |
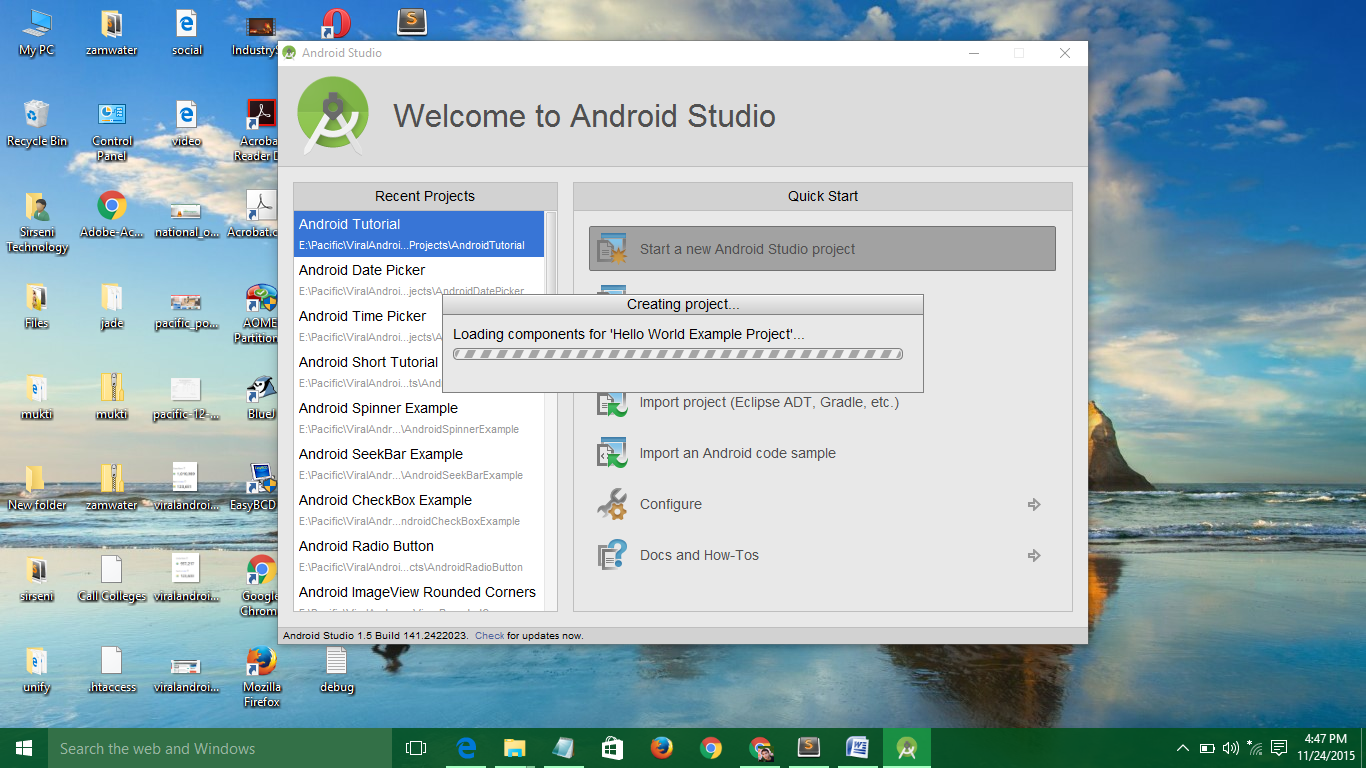 |
| Fig 9: Getting Started with Android Studio |
After opening android studio, you will see like the screenshot given below.
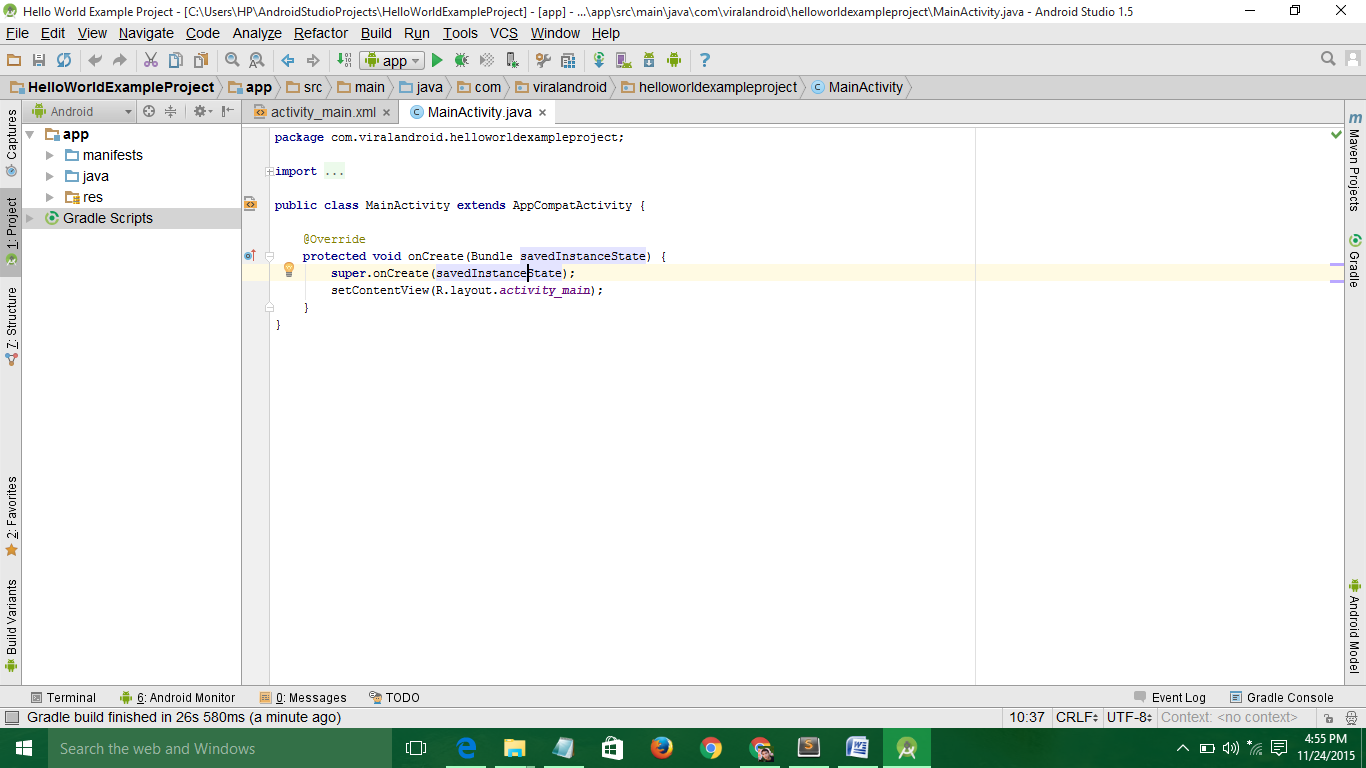 |
| Fig 10: Getting Started with Android Studio |
And click the activity_main.xml tab. By default, android uses Hello World! In each new project, replace Hello World! with your name in the TextView like below.
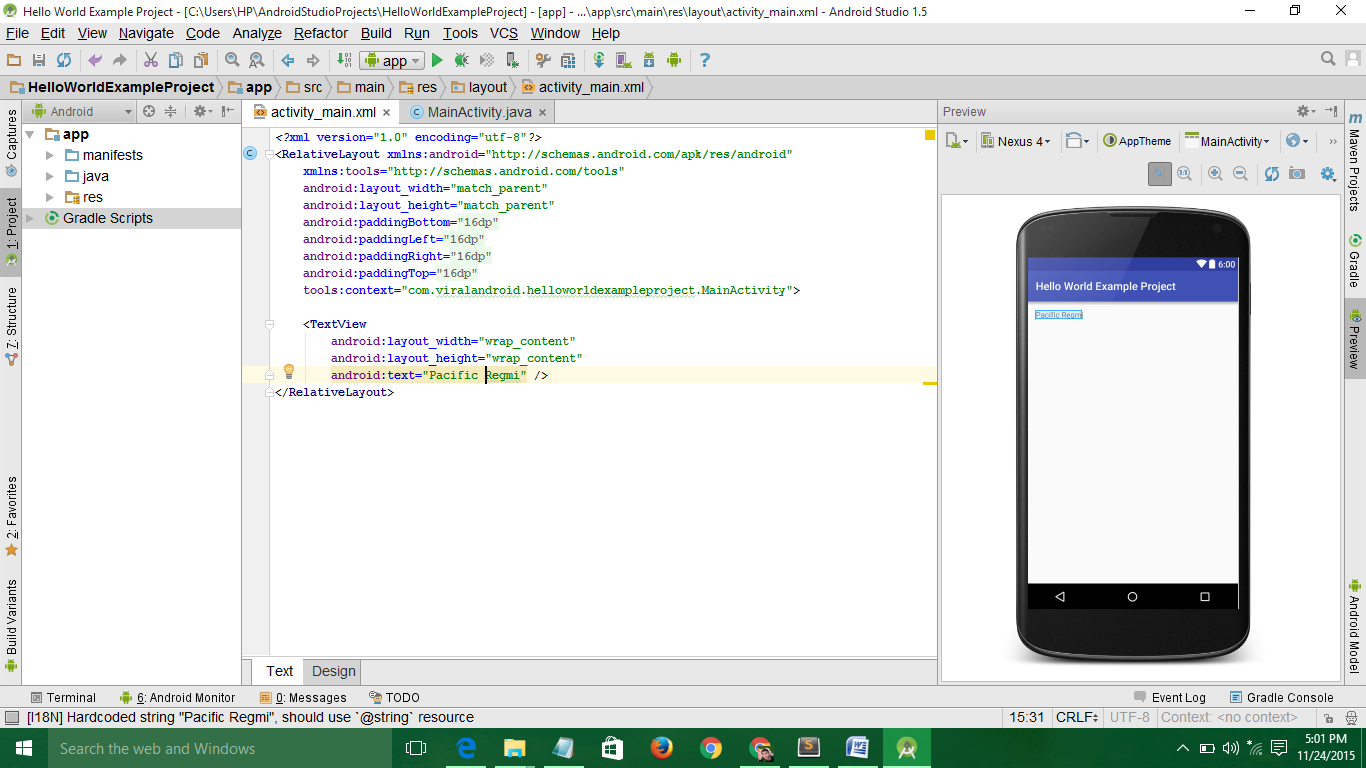 |
| Fig 11: Getting Started with Android Studio |
To run your application, click
Run icon from toolbar
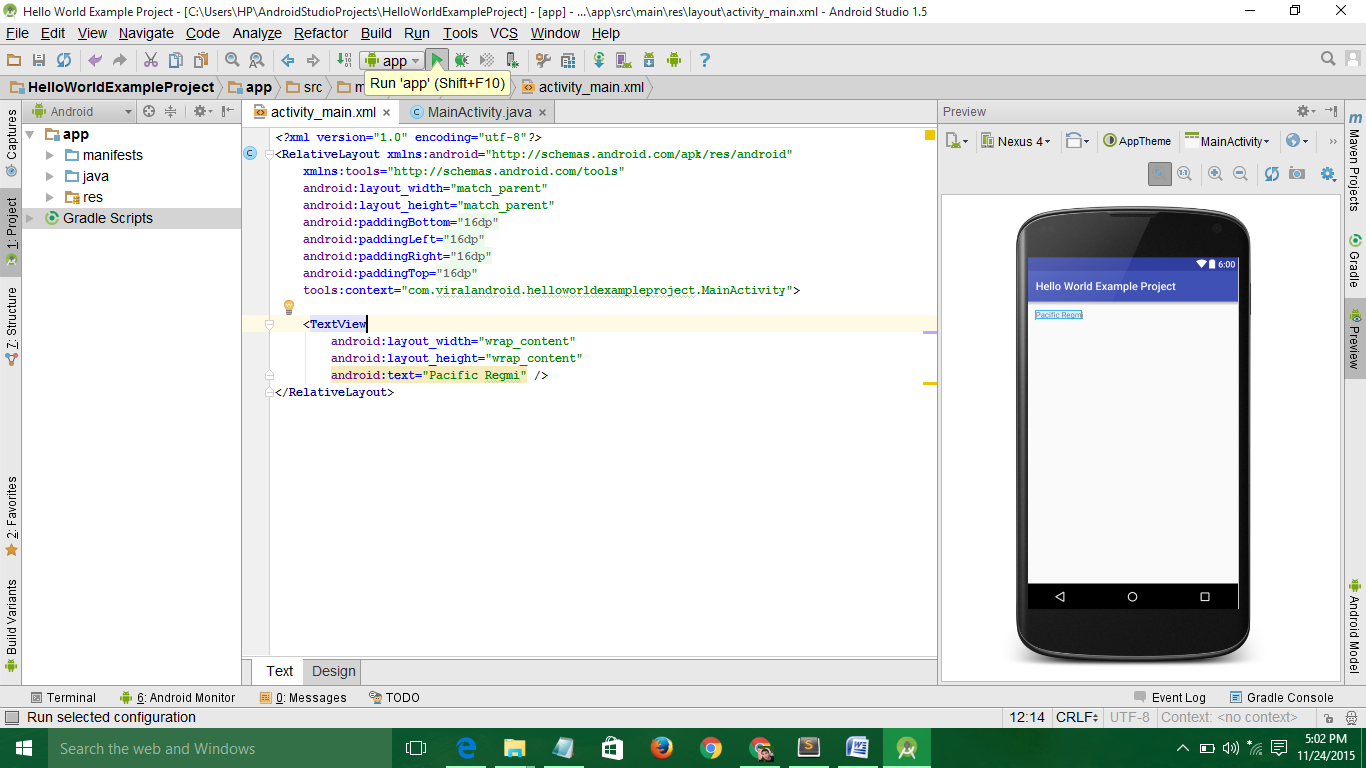 |
| Fig 12: Getting Started with Android Studio |
A new window will appear there where you can choose running device or launch new emulator.Choose
launch emulator and choose one of the virtual devices you have created before and click
Ok button.
 |
| Fig 13: Getting Started with Android Studio |
It takes few minutes to start your emulator for the first time.
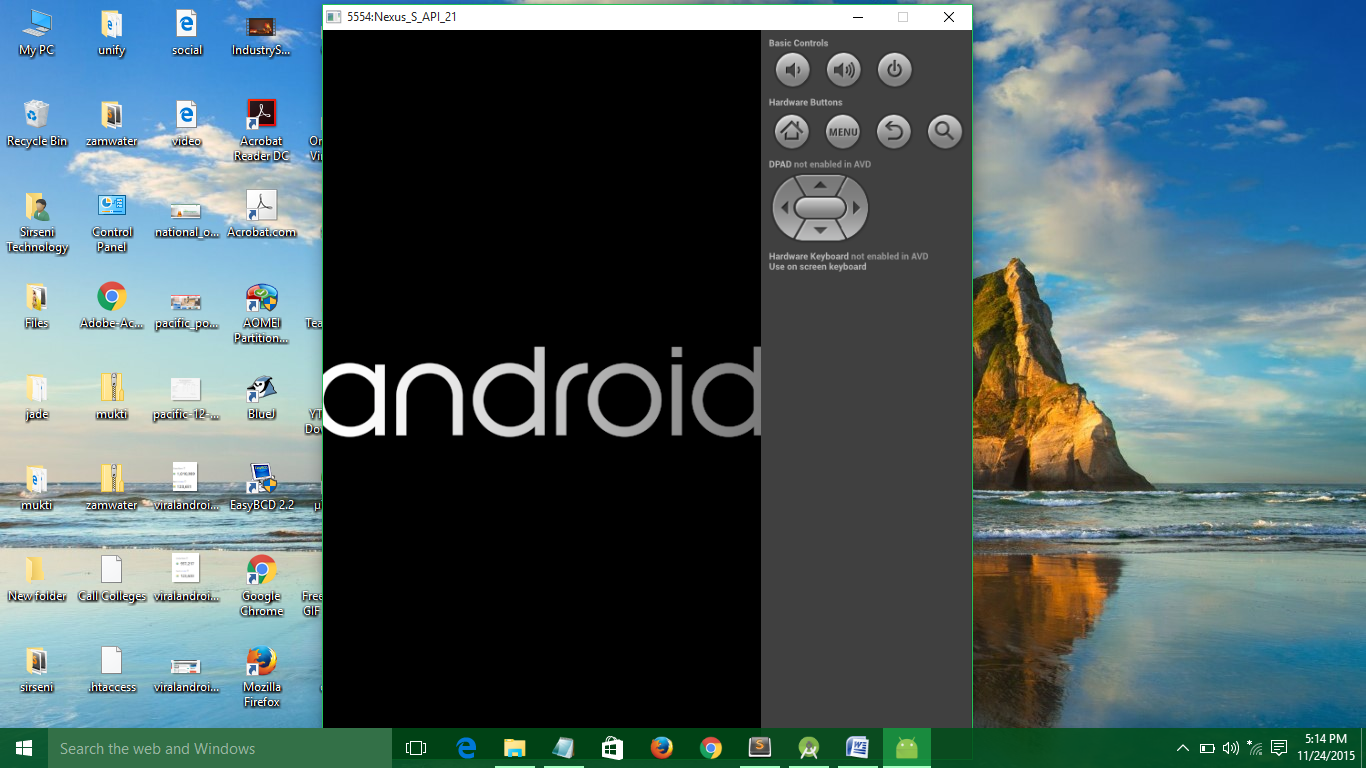 |
| Fig 14: Getting Started with Android Studio |
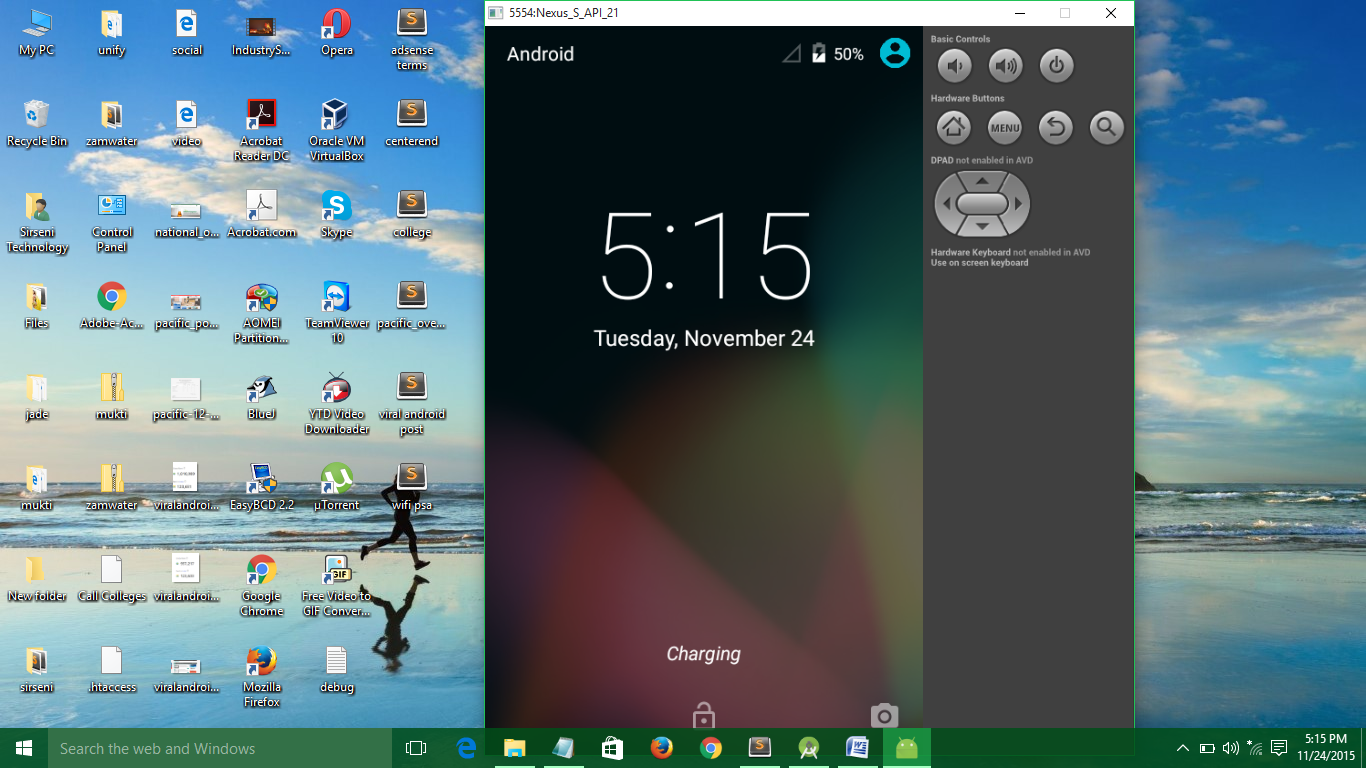 |
| Fig 15: Getting Started with Android Studio |
Now, unlock your emulator screen to see your first application with your name which will look like below screenshot.
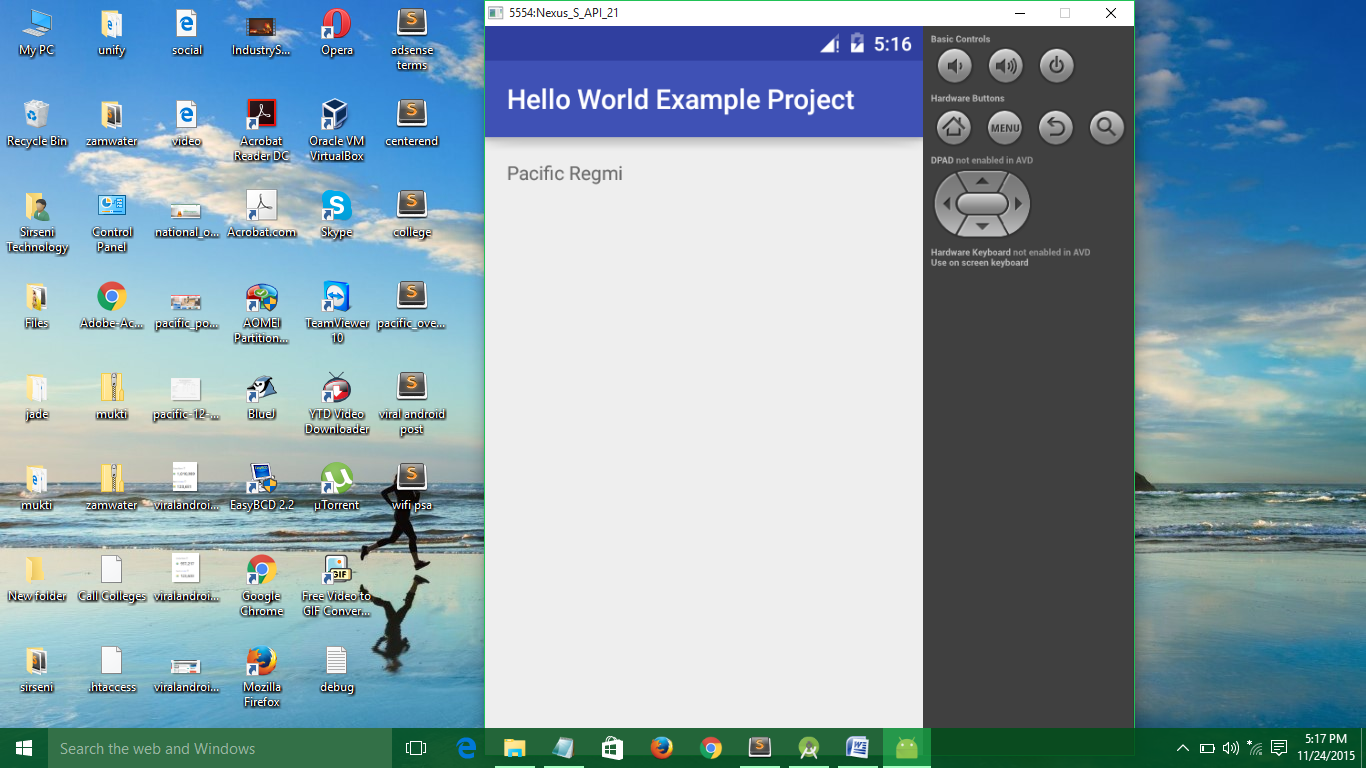 |
| Fig 16: Getting Started with Android Studio |
This is how you have created first android application.


